In this lesson, you’ll learn how to set up a Universal Account after a user connects their wallet. By the end, you’ll be able to initialize a UA instance that works across multiple blockchains. Before getting started, make sure you understand the following concepts:Documentation Index
Fetch the complete documentation index at: https://developers.particle.network/llms.txt
Use this file to discover all available pages before exploring further.
Familarize with Chain Abstraction
Understand the concept of Chain Abstraction
Familarize with Universal Accounts
Understand the concept of Universal Accounts
Lesson Overview
This lesson covers:- Setting up wallet connection with Ethers.js
- Importing and configuring the Universal Account SDK
- Initializing a Universal Account instance
- Configuring advanced features like slippage tolerance and gas abstraction
Prerequisites
Before starting, make sure you have:- Cloned the starter app repository
- Basic familiarity with React and Ethers.js
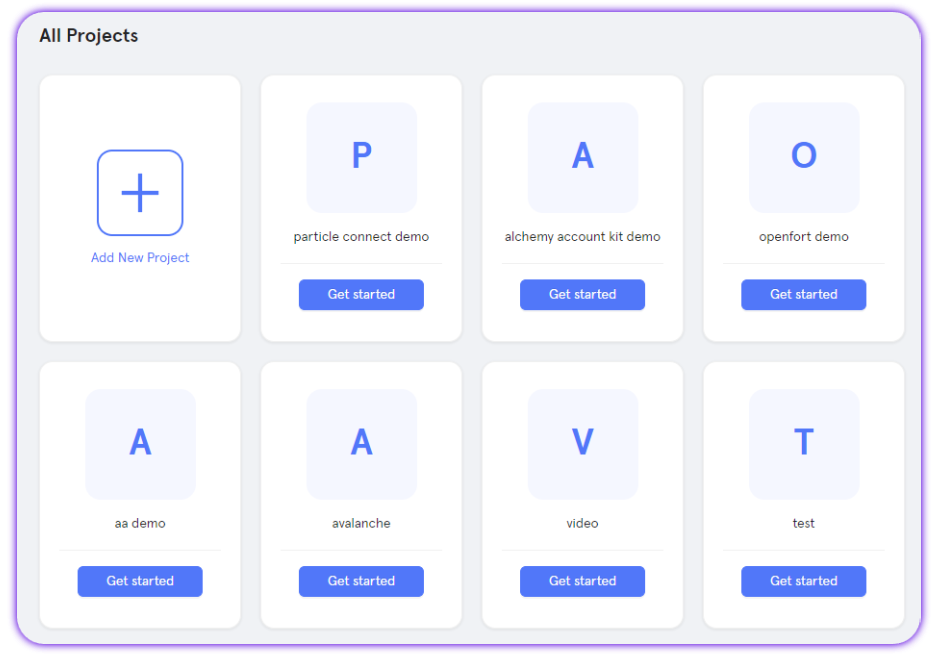
Access the Particle Dashboard
Access the Particle Dashboard
Sign up or Log in into the Particle dashboard
Create a new project or enter an existing project
Create a new project or enter an existing project
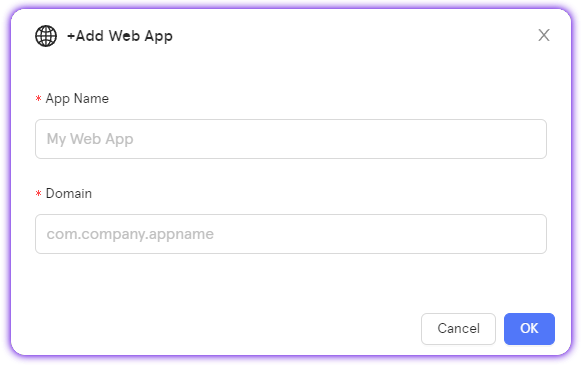
Create a new web application, or skip this step if you already have one
Create a new web application, or skip this step if you already have one
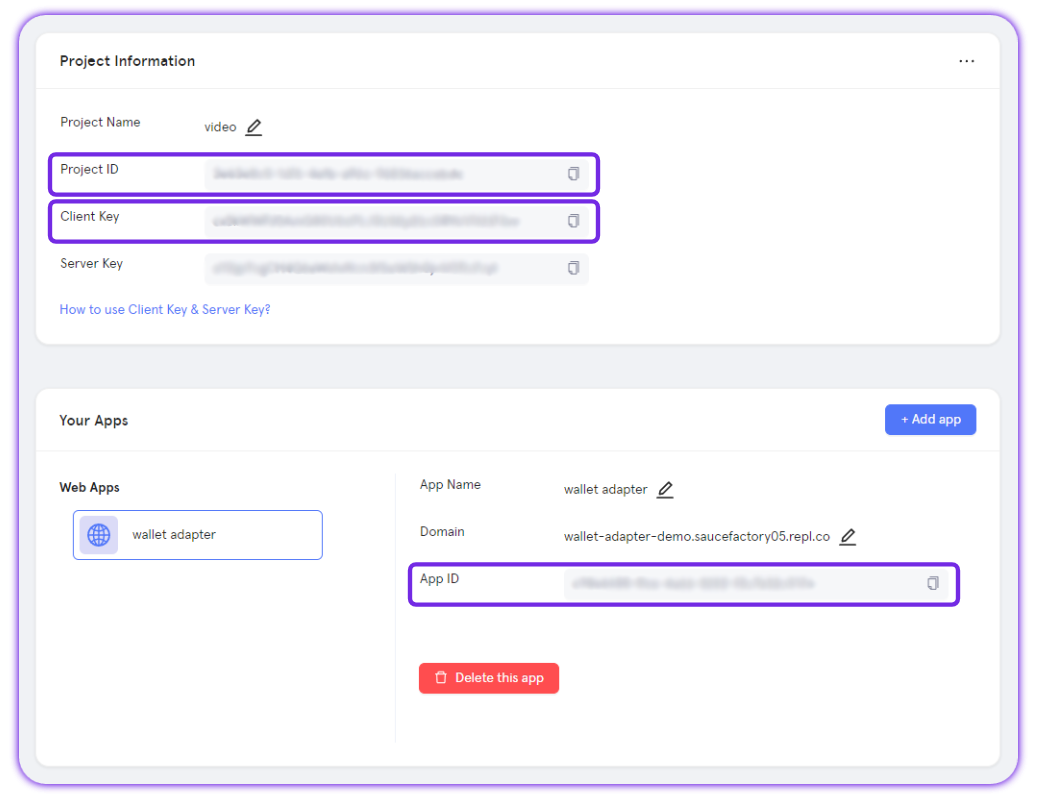
Retrieve the project credentials (project ID, client key, app ID)
Retrieve the project credentials (project ID, client key, app ID)
Lesson 1 Video
The video below walks you through the first lesson:TL;DR
The video covers setting up a basic Web3 dApp usingethers.js as the provider and then initializing a Universal Account. Here’s a quick recap:
You can access and import the UniversalAccount class in your app as follows:
ua instance to fetch data (addresses and balances) and send transactions across multiple blockchains, which we’ll cover in the next lessons.
Lesson 2: Fetch Addresses and Balances
Ready to continue? Head over to Lesson 2: Fetch Addresses and Balances.
Having issues? Contact us via the Support Telegram Bot.