
Quickstart: Implementing Particle Auth within Mobile Applications (Generic)
Most of the 32 SDKs available within Particle Network’s Wallet-as-a-Service belong to mobile platforms. Particle’s Wallet-as-a-Service has SDKs across Android, iOS, Unity, Flutter, and React Native. Across these various SDKs, the implementation flow of the associated services (Particle Auth, Particle Auth Core, Particle Connect, and the Particle AA SDK) varies significantly based on the specific platform, although there are several common denominators; these will be covered within this document. For a full rundown on each service and its associated mobile SDKs (with detailed tutorials on installation, configuration, and utilization), see Introduction to API & SDK overview.Installing WaaS-related libraries
Between Particle Auth, Particle Auth Core, Particle Connect, Particle Wallet, and the Particle AA SDK, there are a variety of potential SDKs you could use to implement these services within your application. The specifics of which ones you choose will depend mainly on the platform you intend to build your application on. A rundown of the various core platform-specific mobile SDKs for each service can be found below:Configuring Particle Auth
As mentioned, using these SDKs will vary significantly, although there are some common structures to keep in mind as you implement them within your application. The first and most universal of them is the requirement of theprojectId, clientKey, and appId values. Each SDK, regardless of platform, will require these three values for authentication and connection between your application and the Particle dashboard.
To find these values and use them within your project, follow these steps:
- Sign up/log in to the Particle dashboard.
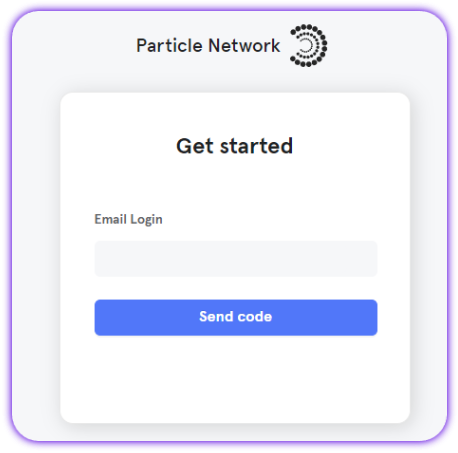
- Create a new project or enter an existing project.
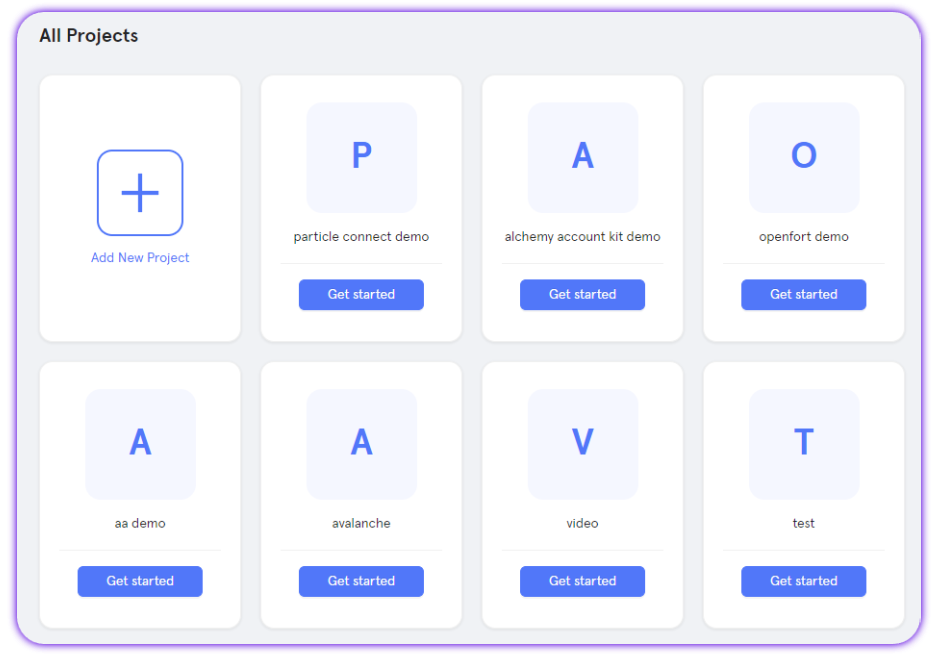
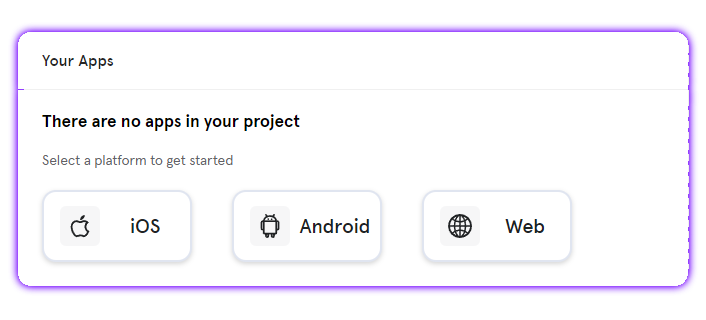
- Create a new application, or skip this step if you already have one.
- Retrieve the project ID (
projectId), the client key (clientKey), and the application ID (appId).
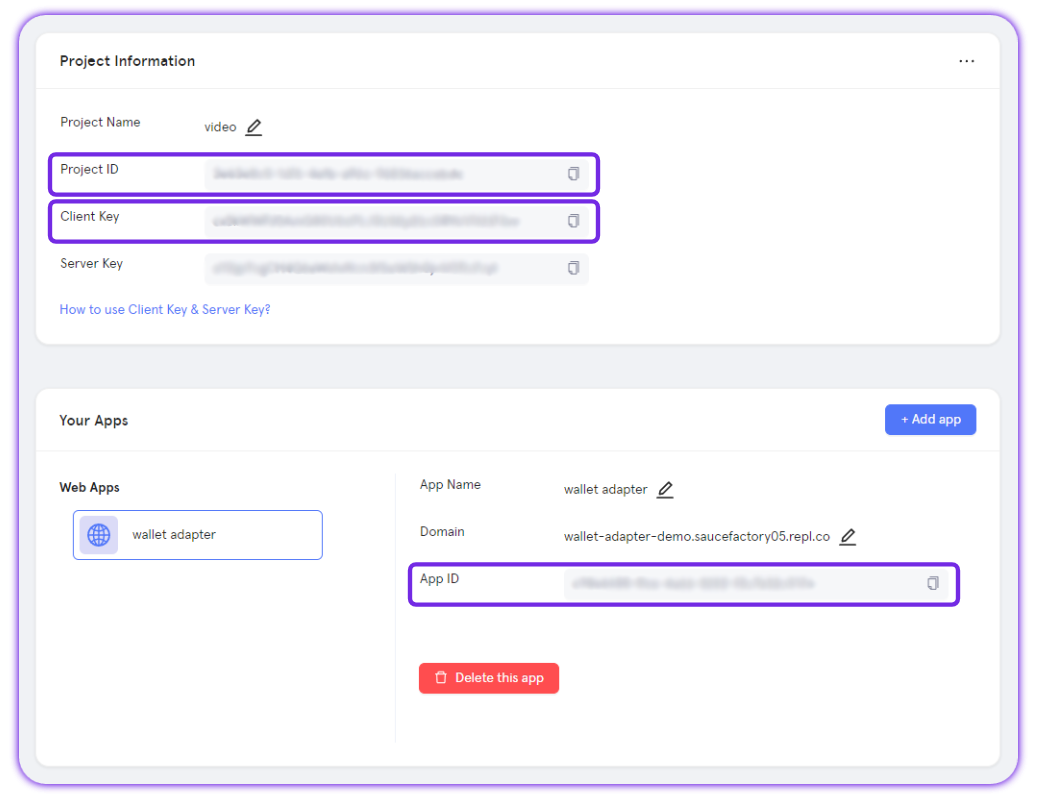
projectId, clientKey, and appId, you can move on to configuring your SDK of choice. The configuration will look somewhat similar between each service, although, of course, with changes in structure and syntax between platforms. To understand where you need to enter your projectId, clientKey, and appId, head over to Introduction to Particle Auth and find the guide for your platform of choice.
Once you’ve configured the SDK in the backend, initialization will look like one of the following snippets, depending on your platform:
Various languages
Facilitating login
Like the configuration and initialization mechanism, the specific syntax and setup required for initiating a social login within your mobile application will deviate based on the platform. However, generally, this can be done by calling thelogin method available within the master object used prior for initialization (ParticleNetwork, ParticleAuthCore, particleAuthCore), and passing in common parameters, as is shown below:
Various languages