> ## Documentation Index
> Fetch the complete documentation index at: https://developers.particle.network/llms.txt
> Use this file to discover all available pages before exploring further.
# React Native Quickstart
# Quickstart: Implementing Particle Connect within applications built with React Native
Particle Connect, the flagship SDK for facilitating onboarding through either social logins or standard wallet connection, has rich support for React Native, as will be covered here.
Specifically, this document will go through the step-by-step process of configuring, initializing, and using Particle Connect with React Native.
For complete documentation covering the implementation of Particle Connect on React Native in more depth, head over to the [React Native SDK reference](/social-logins/connect/mobile/react).
***
To begin, go ahead and add `@particle-network/rn-connect`, `@particle-network/rn-auth-core`, and `@particle-network/rn-base` to your React Native application; this is a requirement before moving onto platform-specific configuration.
```shell Terminal theme={null}
npm install @particle-network/rn-auth-core
npm install @particle-network/rn-base
npm install @particle-network/rn-connect
// Or
yarn add @particle-network/rn-auth-core
yarn add @particle-network/rn-base
yarn add @particle-network/rn-connect
```
Once the aforementioned libraries are installed, you're ready to configure Particle Connect.
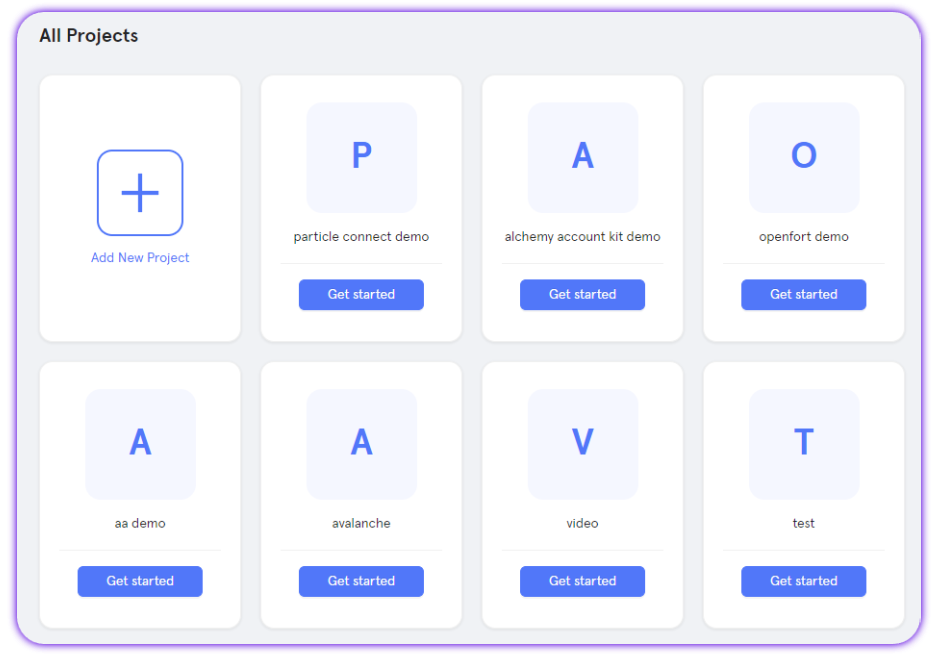
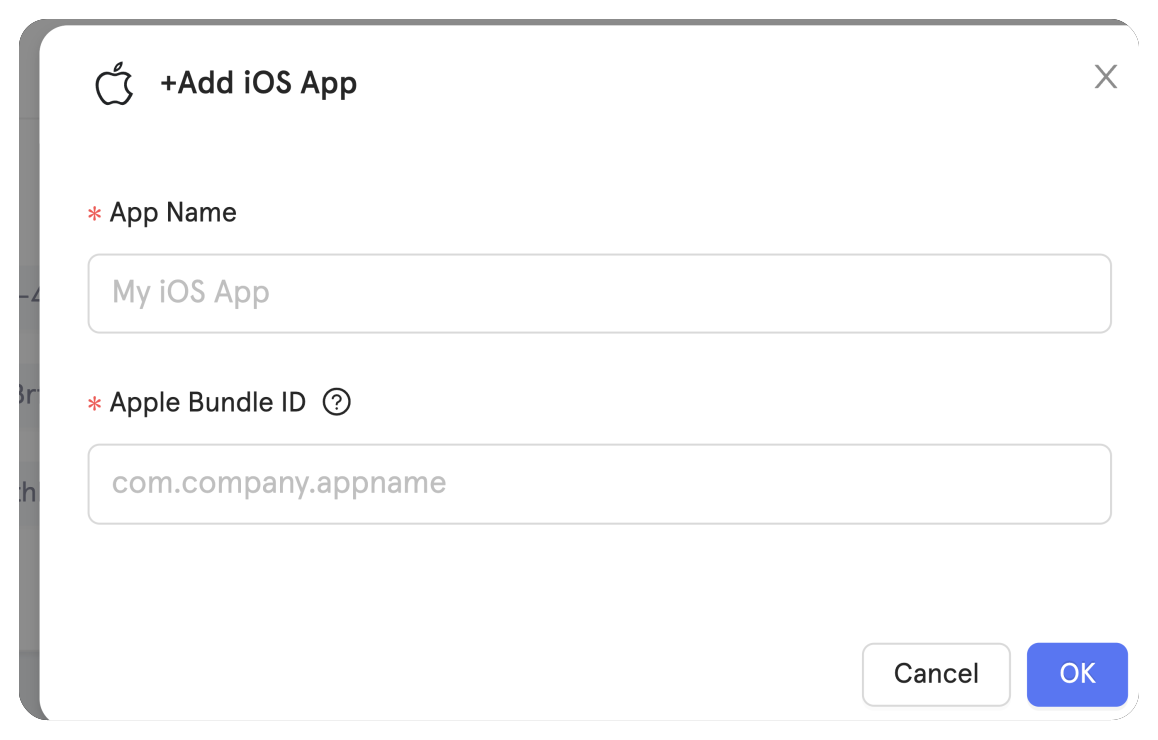
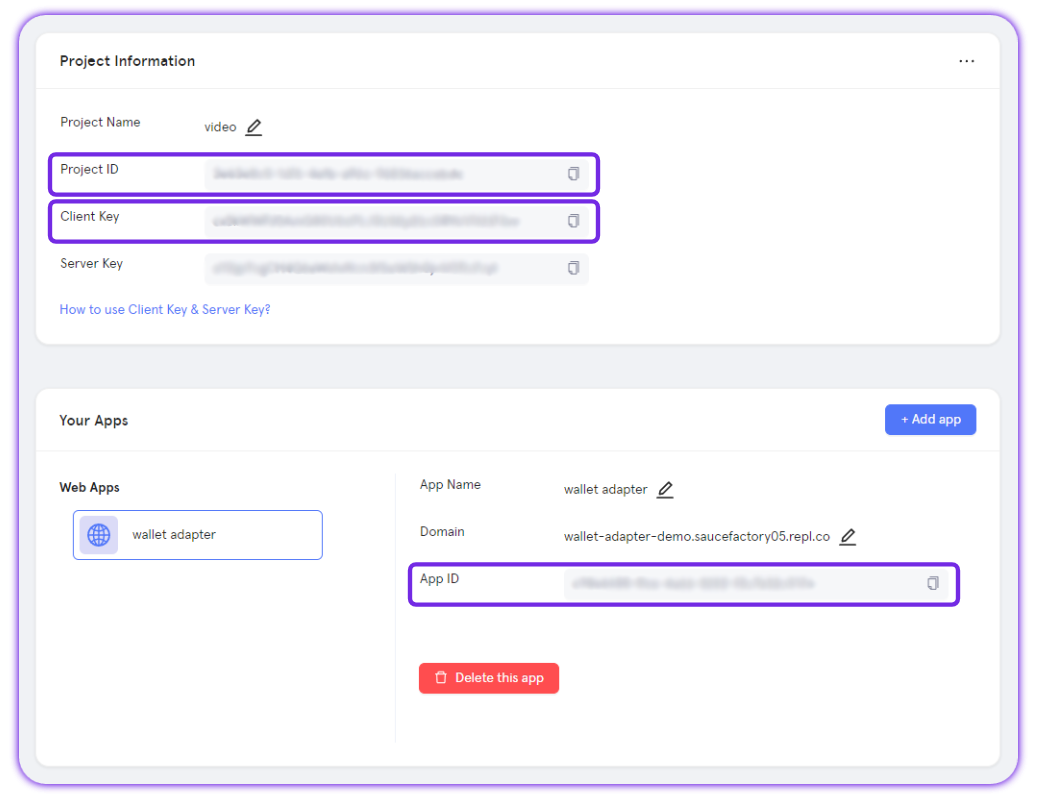
Most importantly within this process, you'll need three key values from the [Particle dashboard](https://dashboard.particle.network): your project ID, client key, and app ID. These are used to authenticate your instance of Particle Connect and connect your project to the dashboard; these are required to properly initialize the SDK.
To retrieve these keys, follow the steps outlined below:
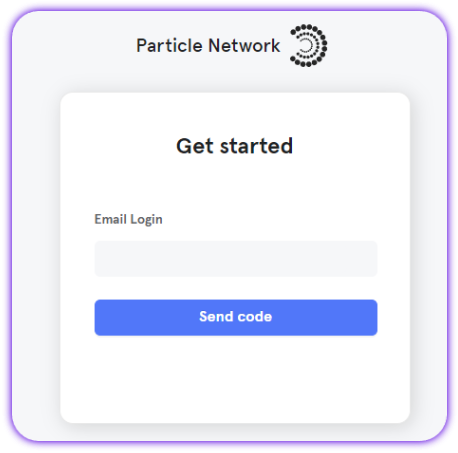
Sign up or Log in into the [Particle dashboard](https://dashboard.particle.network)
For more information on the Particle dashboard, take a look at the [dashboard quickstart](/social-logins/dashboard).
***
### Android
If you're planning on using Android for your React Native application, ensure that you meet the following prerequisites:
* minSdkVersion **23** or higher.
* compileSdkVersion, targetSdkVersion **34** or higher.
* JavaVersion **17**.
* [Jetpack (AndroidX)](https://developer.android.com/jetpack/androidx/migrate?authuser=0).
* Android Gradle Plugin Version: **8.5.1** or higher.
* Gradle Version: **8.9** or higher. (before react-native:0.75.2, use 8.8)
Once you've made sure your project meets these requirements, you'll need to move on and define the aforementioned configuration values (project ID, client key, and app ID) within your `build.grade` file (which is generally found at `${project name}/android/app/build.gradle`). These directly link your application's instance of Particle Connect with the [dashboard](https://dashboard.particle.network).
Specifically, within `build.gradle`, you'll need to set four different values:
1. `dataBinding`, this should be enabled with `enabled = true`.
2. `manifestPlaceholders["PN_PROJECT_ID"]`, the project ID previously retrieved from the Particle dashboard.
3. `manifestPlaceholders["PN_PROJECT_CLIENT_KEY"]`, the client key previously retrieved from the Particle dashboard.
4. `manifestPlaceholders["PN_APP_ID"]`, the app ID previously retrieved from the Particle dashboard.
```groovy build.gradle theme={null}
android {
...
defaultConfig {
......
manifestPlaceholders["PN_PROJECT_ID"] = "Your project ID"
manifestPlaceholders["PN_PROJECT_CLIENT_KEY"] = "Your client key"
manifestPlaceholders["PN_APP_ID"] = "Your app ID"
}
dataBinding {
enabled = true
}
}
```
***
### iOS
Alternatively, if you plan to use iOS for your React Native application, the underlying setup process differs slightly. Before diving in, ensure that your project meets the following requirements:
* **Xcode 15.0** or later.
* **iOS 14** or later.
With these requirements set, you'll need to open an exported iOS project and find `ios/{project name}.xcworkspace`.
At the root of your Xcode project, create a new file, `ParticleNetwork-Info.plist`. Ensure this is marked under "Target Membership."
From here, with a fresh `ParticleNetwork-Info.plist` file, go ahead and fill it in with the aforementioned project keys (project ID, client key, and app ID):
```xml ParticleNetwork-Info.plist theme={null}
PROJECT_UUID
YOUR_PROJECT_UUID
PROJECT_CLIENT_KEY
YOUR_PROJECT_CLIENT_KEY
PROJECT_APP_UUID
YOUR_PROJECT_APP_UUID
```
Next, you'll need to head over to your `AppDelegate.swift` file to add an import of `react_native_particle_connect`.
```swift AppDelegate.swift theme={null}
#import
```
Additionally, within your application's `application` method (as shown below), you'll need to include a handler condition derived from `ParticleConnectSchemeManager handleUrl:url`. This should be as simple as a `YES` (true) return upon a true value of `ParticleConnectSchemeManager handleUrl:url`.
```swift AppDelegate.swift theme={null}
- (BOOL)application:(UIApplication *)application openURL:(NSURL *)url options:(NSDictionary *)options {
if ([ParticleConnectSchemeManager handleUrl:url] == YES) {
return YES;
} else {
// other methods
}
return YES;
}
```
Additionally, you'll need to configure your application's scheme URL. To configure this, select your application from "TARGETS" under the "Info" section, then click "+" to add a URL type.
For example, if your `appId` is `63bfa427-cf5f-4742-9ff1-e8f5a1b9828f`, then the scheme URL would be `pn63bfa427-cf5f-4742-9ff1-e8f5a1b9828f` --simply adding `pn` to the beginning of the `appId`.
Now, head over to your `Info.plist` file and include the following snippet.
```xml Info.plist theme={null}
LSApplicationQueriesSchemes
metamask
phantom
bitkeep
imtokenv2
rainbow
trust
zerion
mathwallet
oneinch
awallet
okex
bnc
NSPhotoLibraryUsageDescription
We need access in order to open photos of barcodes
NSCameraUsageDescription
We use the camera to scan barcodes
NSFaceIDUsageDescription
We use Face ID for secure access to the app.
```
Finally, you'll need to edit your Podfile to ensure `particle_connect` is properly imported. Head over to the [linked guide](https://github.com/Particle-Network/particle-react-native/blob/master/particle-connect/example/ios/Podfile) to complete this if you have not already.
At this point, you've installed and configured Particle Connect; the only step remaining before the SDK can be used is initialization.
Particle Connect can be initialized by simply calling the `init` method on `particleConnect`. This takes the following parameters:
* `chainInfo`, representing the primary chain you intend to use (for example, `ChainInfo.Ethereum`, `chainInfo.Polygon`).
* `metadata`, a collection of information about your project.
* `env`, affecting the information logged within your environment (`Env.dev`, `Env.production`, or `Env.staging`).
An example of this has been included below.
```typeScript theme={null}
const chainInfo: ChainInfo = Ethereum;
const env = Env.Dev;
const metadata = {
url: 'https://connect.particle.network',
icon: 'https://connect.particle.network/icons/512.png',
name: 'Particle Connect',
description: 'Particle Wallet'
}
particleConnect.init(chainInfo, env, metadata);
particleAuthCore.init();
```
At this point, you're ready to facilitate connection through the Particle Connect modal (via either socials or standard wallets).
To do this, you'll need to establish a config object specifying the:
* Onboarding mechanisms you'd like to support, through `connectOptions` (such as `ConnectOption.Email`, `ConnectOption.Phone`, `ConnectOption.Social`, `ConnectOption.Wallet`).
* Social login providers you'd like to support, through `socialProviders` (such as `EnableSocialProvider.Google`, `EnableSocialProvider.Apple`, and so on).
* Wallets you'd like to be included as options within the modal, through `walletProviders` (such as EnableWallet.MetaMask, as shown below).
* (Optionally), layout options altering the format of the connection modal through `additionalLayoutOptions`.
* (Optionally), additional customizations, such as a custom icon, through `logo`.
Upon generating this config, you'll be able to call `particleConnect.connectWithConnectKitConfig`, initiating the resulting connection modal.
```typeScript theme={null}
const config = {
// You can control the array elements and adjust the UI order
connectOptions: [ConnectOption.Email, ConnectOption.Phone, ConnectOption.Social, ConnectOption.Wallet],
// You can control the array elements and adjust the UI order
socialProviders: [EnableSocialProvider.Google, EnableSocialProvider.Apple, EnableSocialProvider.Twitter, EnableSocialProvider.Discord, EnableSocialProvider.Github],
// You can control the array elements and adjust the UI order
walletProviders: [{ enableWallet: EnableWallet.MetaMask, label: EnableWalletLabel.Recommended },
{ enableWallet: EnableWallet.OKX, label: EnableWalletLabel.Popular },
{ enableWallet: EnableWallet.Trust, label: EnableWalletLabel.None },
{ enableWallet: EnableWallet.Bitget, label: EnableWalletLabel.None }
],
additionalLayoutOptions: {
isCollapseWalletList: false,
isSplitEmailAndSocial: true,
isSplitEmailAndPhone: false,
isHideContinueButton: false,
},
logo: base64Icon // base64 string or image URL
};
const accountInfo = await particleConnect.connectWithConnectKitConfig(config);
```
## Examples of Utilization
### Retrieving User Information
Upon wallet connection (or social login), you'll be able to retrieve information about the resulting account.
Basic account information can be found through the result of `particleConnect.connectWithConnectKitConfig`, in this case, that was saved to `account`, which contains properties such as `publicAddress` and `walletType`.
To explicitly retrieve `userInfo` (a collection of information regarding the login mechanism, attached addresses, and so on; more information can be found within its [API reference](/social-logins/api/server/getuserinfo)), you'll need to call `particleAuthCore.getUserInfo`.
An example of both approaches can be found below.
```typeScript theme={null}
const publicAddress = account.publicAddress
const walletType = account.walletType
if (walletType == WalletType.AuthCore) {
const userInfo = await particleAuthCore.getUserInfo();
}
```
### Send a Transaction
To do this, you'll need to construct a transaction with `EvmService.createTransaction` using standard parameters such as `evmAddress` (from, or the sender), `data`, `value`, and `receiverAddress` (to, or the recipient),
To execute the resulting transaction, you'll need to initialize an instance of the active connected wallet; an example of doing this has been included in the snippet below.
Finally, using this instance, the transaction can be executed through `ParticleConnect.signAndSendTransaction`, taking the sender's address alongside the previously constructed transaction object.
```typeScript theme={null}
const evmAddress = await evm.getAddress();
const receiverAddress = "0x0000000000000000000000000000000000000000";
const value = BigNumber(0.000000001 * Math.pow(10, 18));
const data = "0x";
const transaction = EvmService.createTransaction(evmAddress, data, value, receiverAddress);
const txHash = await ParticleConnect.signAndSendTransaction(WalletType.AuthCore, account.publicAddress, transaction);
```
### Open Wallet
If you installed `@particle-network/rn-wallet`, you can open the (optional) **embedded wallet interface** any time after a user connects, use `particleWallet.setSupportChain` to set supported chains, then `particleWallet.navigatorWallet` to open the interface.
```typeScript theme={null}
const chainInfos = [Ethereum, EthereumSepolia, Base];
particleWallet.setSupportChain(chainInfos);
const display = WalletDisplay.Token;
particleWallet.navigatorWallet(display);
```
To implement account abstraction within your React Native project, integrate the `particle_aa` SDK and refer to this [documentation](/aa/sdks/mobile/react). Additionally, a demo repository can be found [here](https://github.com/Particle-Network/particle-react-native/tree/master/particle-aa/example).