> ## Documentation Index
> Fetch the complete documentation index at: https://developers.particle.network/llms.txt
> Use this file to discover all available pages before exploring further.
# iOS Quickstart
# Quickstart: Implementing Particle Auth within iOS Applications
Particle Auth, the core SDK responsible for driving social logins, has various iOS SDKs; implementation only takes a few steps.
This document will go through the step-by-step process of configuring, initializing, and using Particle Auth on iOS.
For complete documentation covering the implementation of Particle Auth on iOS in more depth, head over to the [iOS SDK reference](/social-logins/auth/mobile-sdks/ios).
Before jumping into it, ensure your project meets the following minimum requirements (otherwise, you may encounter compatibility issues).
### Prerequisites
* **Xcode 15.0** or higher.
* **CocoaPods 1.14.3** or higher.
* **iOS 14** or higher.
***
To begin, you'll need to install Particle Auth through your Podfile; specifically, you'll need (at a minimum) the following libraries:
* `ParticleAuthCore`
* `ParticleMPCCore`
* `Thresh`
* Optionally, `ParticleWalletAPI` for transaction construction.
* Optionally, `ParticleWallerGUI` to enable an embedded wallet interface.
Below is a snippet representing the installation of the aforementioned libraries.
```ruby Podfile theme={null}
pod `ParticleAuthCore`
pod 'ParticleMPCCore'
pod 'Thresh'
pod 'ParticleWalletAPI' # Optional
pod `ParticleWalletGUI` # Optional
```
Once installed, you're ready to configure Particle Auth and initialize the SDK.
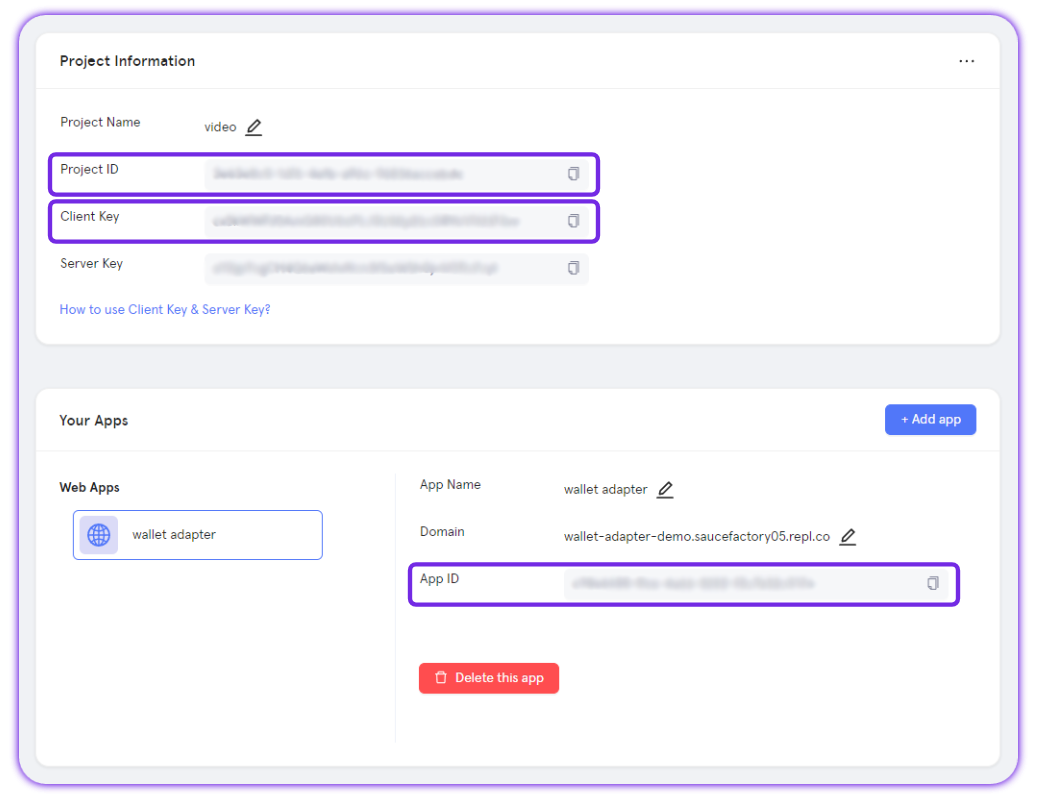
To do this, you'll need three key values from the [Particle dashboard](https://dashboard.particle.network): your project ID, client key, and app ID. These are used to authenticate your instance of Particle Auth and connect your project to the dashboard; these are required to properly initialize the SDK.
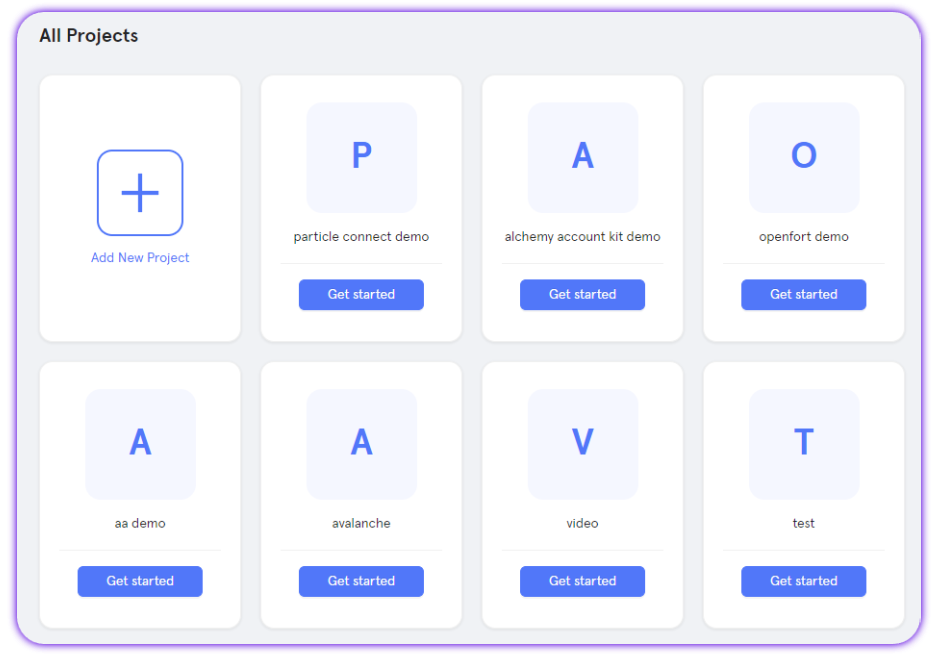
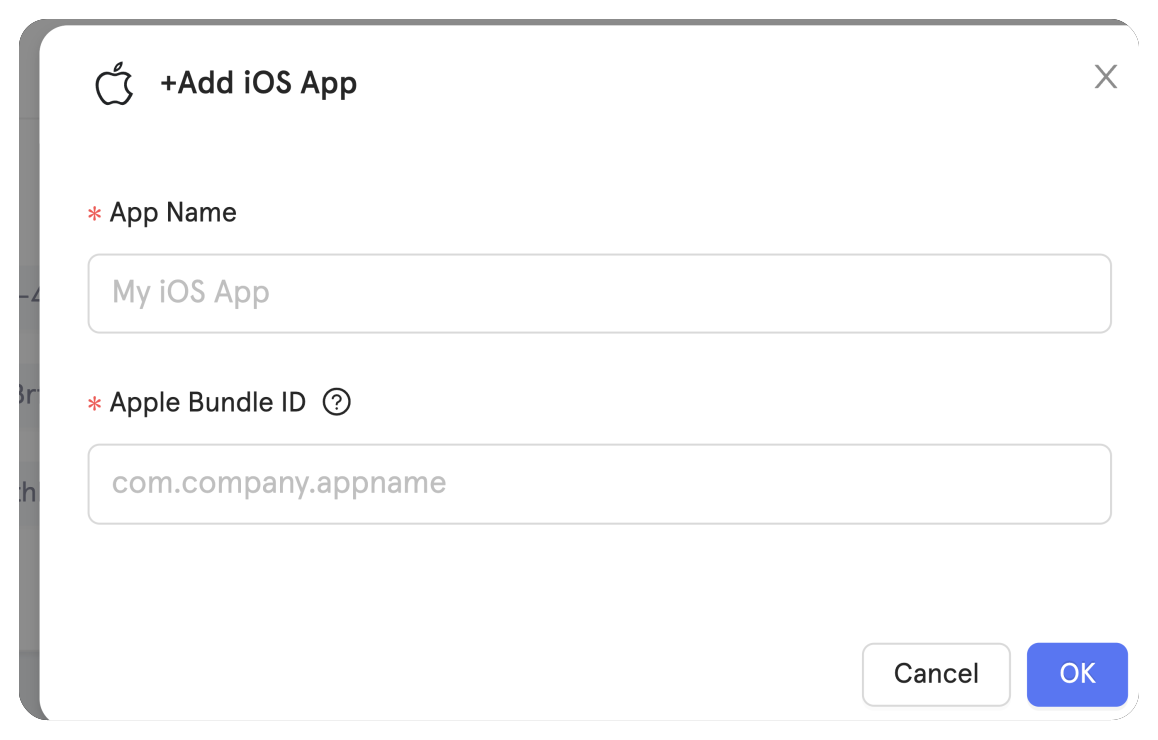
To retrieve these keys, follow the steps outlined below:
Sign up or Log in into the [Particle dashboard](https://dashboard.particle.network)
For more information on the Particle dashboard, take a look at the [dashboard quickstart](/social-logins/dashboard).
With your project ID, client key, and app ID retrieved, you'll need to add a file named `ParticleNetwork-Info.plist` to your project, then insert the aforementioned keys as is exemplified below.
```xml ParticleNetwork-Info.plist theme={null}
PROJECT_UUID
YOUR_PROJECT_UUID
PROJECT_CLIENT_KEY
YOUR_PROJECT_CLIENT_KEY
PROJECT_APP_UUID
YOUR_PROJECT_APP_UUID
```
At this point, you've installed and configured Particle Auth; the only step remaining before the SDK can be used is initialization.
Particle Auth can be initialized by simply calling the `initialize` method on `ParticleNetwork`. This takes the following parameters:
* `config`, which takes:
* `chainInfo`, representing the primary chain you intend to use (for example, `.ethereum`, `.polygon`).
* `devEnv`, affecting the information logged within your environment (`.debug`, `.production`, or `.staging`).
The snippet below is an example of this.
```swift theme={null}
// You can retrieve chainInfo from ChainInfo, the initialize works for the first time open.
// If you support more than one chain, you can use ParticleNetwork.setChainInfo to switch.
ParticleNetwork.initialize(config: .init(chainInfo: .ethereum, devEnv: .debug))
```
You're ready to facilitate social login and interacting with the resulting accounts.
As shown below, you'll need to call `auth.connect` to initiate social login, passing in the specific login type you'd like the user to use (`.google`, `.twitter`, `.discord`, etc.) alongside, if applicable, the type of account prompt used by the OAuth provider (`.selectAccount`, `.consent`, `.none`).
When a user logs in for the first time, if there is no account, we will create one. Based on the current chainInfo, a new address will be generated. For example, if the current chain is EVM-compatible, only an EVM address will be generated; if it's the Solana chain, only a Solana address will be generated. If you want to obtain both addresses, you can use `auth.switchChain` to switch chains, and after waiting for 2 seconds, a new address for the selected chain will be generated for you.
```swift theme={null}
let userInfo = try await auth.connect(type: .google, socialLoginPrompt: .selectAccount)
// Additionally, you can implement custom authentication through JWT.
// Learn more: https://developers.particle.network/guides/configuration/auth/jwt
let userInfo = try await auth.connect(type: .jwt, account: "the JWT")
```
## Examples of Utilization
### Retrieve User Information
With a user logged in, you'll be able to retrieve information about their account (such as their address, or specific details regarding the social login mechanism they used) through methods such as `auth.evm.getAddress` and `auth.getUserInfo` (`getUserInfo` returns an object with numerous points of information; to learn more, head over to its [API reference](/social-logins/api/server/getuserinfo)).
The following snippet is an example of retrieving a user's address on both EVM and Solana alongside pulling their broader account information.
```swift theme={null}
let evmAddress = auth.evm.getAddress()
let solanaAddress = auth.solana.getAddress()
let flag = try await self.auth.switchChain(chainInfo: .solana)
if flag {
let userInfo = self.auth.getUserInfo()
}
// If you're using account abstraction through ParticleAA, you'll need to retrieve their address through the following:
let smartAccountAddress = self.auth.getUserInfo()?.smartAccountAddress
```
### Send a Transaction
Now, as a final example, you can send a transaction, such as burning 0.000000001 ETH.
To do this, you'll need to construct a transaction with `ParticleWalletAPI.createTransaction` using standard parameters such as `from`, `to`, `value`, and (optionally) `data`.
Upon construction, the transaction can be sent through `auth.evm.sendTransaction`; once the user signs/confirms, it'll be pushed to the network; an example of this is shown below.
```swift theme={null}
let evmAddress = auth.evm.getAddress()
let receiverAddress = "0x0000000000000000000000000000000000000000"
let value = BDouble(0.000000001 * pow(10, 18)).rounded().toHexString()
let transaction = try await ParticleWalletAPI.evm().createTransaction(from: evmAddress, to: receiverAddress, value: value, data: "0x").value
let txHash = try await self.auth.evm.sendTransaction(transaction, chainInfo: nil)
```
### Open Wallet
If you included `ParticleWalletGUI` within your Podfile, you can open the (optional) embedded wallet interface at any time after a user connects, use `ParticleWalletGUI.setSupportChain` to set supported chains, then `PNRouter` to open the interface.
```swift theme={null}
ParticleWalletGUI.setSupportChain(Set<[ChainInfo.ethereum, ChainInfo.bnbChain]>)
PNRouter.navigatorWallet(hiddenBackButton: false)
```
Take a look at the complete demo project [here](https://github.com/Particle-Network/particle-mpc-core-ios).