> ## Documentation Index
> Fetch the complete documentation index at: https://developers.particle.network/llms.txt
> Use this file to discover all available pages before exploring further.
# Android Quickstart
# Quickstart: Implementing Particle Auth within Android Applications
Particle Auth, responsible for driving standalone social logins leading to MPC-secured accounts, has rich support for Android (Kotlin). Introducing Web2-like onboarding into your mobile application with Particle Auth only takes a few minutes.
Below, you'll find everything you need to get started, from beginning to end.
For complete documentation covering the implementation of Particle Auth on Android in more depth, head over to the [Android SDK reference](/social-logins/connect/mobile/android).
***
Before we begin installing and configuring the SDK, you'll need a project that meets the prerequisites listed below (otherwise you may face compatability issues).
### Prerequisites
* minSdkVersion **23** or higher.
* compileSdkVersion, targetSdkVersion **34** or higher.
* JavaVersion **17**.
* [Jetpack (AndroidX)](https://developer.android.com/jetpack/androidx/migrate?authuser=0).
* Android Gradle Plugin Version **8.5.1** or higher.
* Gradle Version **8.9** or higher.
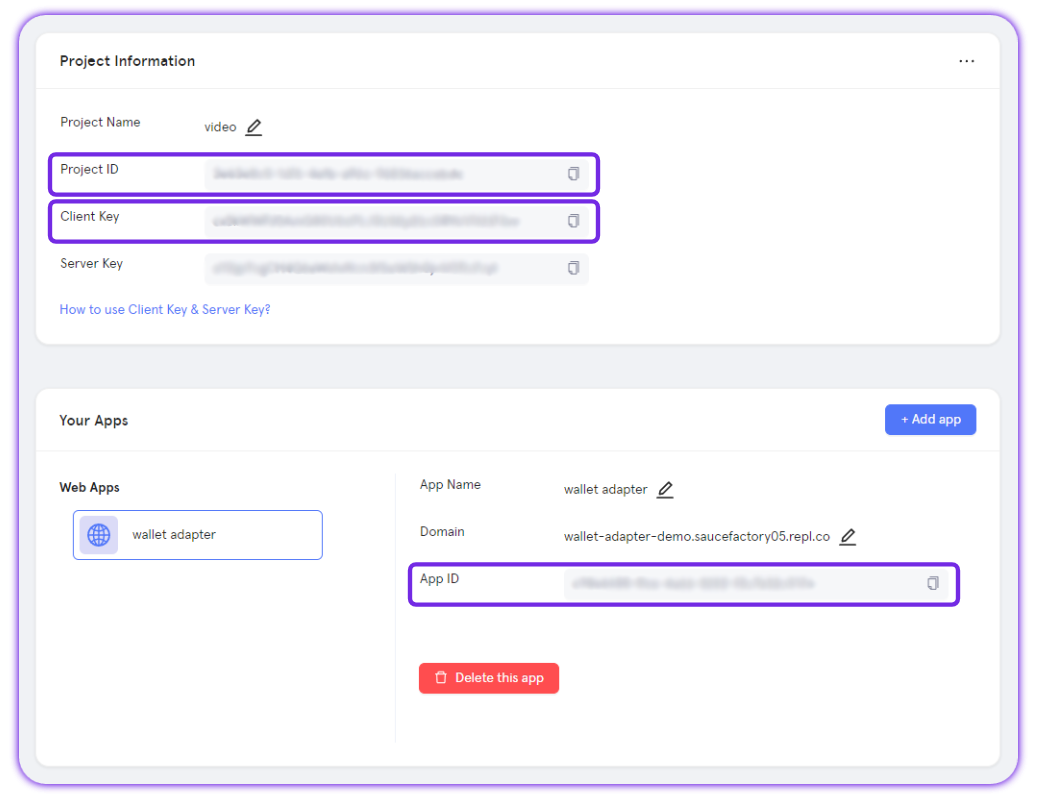
Finally, before jumping into the SDKs themselves, you'll need to prepare three key values from the [Particle dashboard](https://dashboard.particle.network): your project ID, client key, and app ID. These keys will authenticate your instance of Particle Auth.
To retrieve them, follow the instructions below.
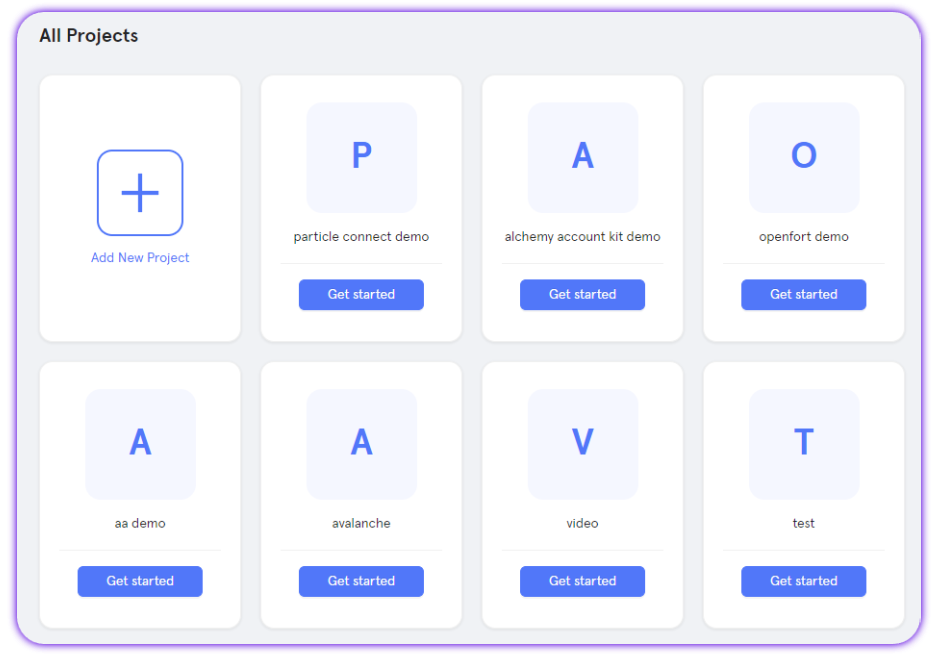
Sign up or Log in into the [Particle dashboard](https://dashboard.particle.network)
For more information on the Particle dashboard, take a look at [this video](https://www.youtube.com/watch?v=d7DYCMNDmjo\&ab_channel=ParticleNetwork) or visit the [dashboard quickstart](/social-logins/dashboard).
We'll be using Maven to install Particle Auth; as such, ensure your `settings.gradle` file looks similar to the example shown below.
```gradle theme={null}
// Source: https://github.com/Particle-Network/particle-android/blob/master/settings.gradle.kts
pluginManagement {
repositories {
gradlePluginPortal()
google()
mavenCentral()
}
dependencyResolutionManagement {
repositories {
google()
mavenCentral()
maven { setUrl("https://jitpack.io") }
}
}
```
You're now ready to establish your dependencies and insert the previously retrieved keys to authenticate the SDK, this will be handled through your `build.gradle` file. The areas in which you'll need to place these keys have been noted in the snippet below.
Additionally, within `dependencies`, you'll need to (at a minimum) install the following:
* `network.particle:connect`
* `network.particle:connect-auth-core-adapter`
* `network.particle:wallet-service`
As a result, your `build.gradle` file should look similar to the following:
```gradle theme={null}
// Source: https://github.com/Particle-Network/particle-android/blob/master/app/build.gradle.kts
android {
//...
defaultConfig {
//...
minSdk = 23
targetSdk = 34
manifestPlaceholders["PN_PROJECT_ID"] = "Replace this with your Project ID" // !
manifestPlaceholders["PN_PROJECT_CLIENT_KEY"] = "Replace this with your Client Key" // !
manifestPlaceholders["PN_APP_ID"] = "Replace this with your App ID" // !
//...
}
compileOptions {
sourceCompatibility(JavaVersion.VERSION_17)
targetCompatibility(JavaVersion.VERSION_17)
}
kotlinOptions {
jvmTarget = JavaVersion.VERSION_17.toString()
}
dataBinding {
isEnabled = true
}
}
dependencies {
// Required
modules {
module("org.bouncycastle:bcprov-jdk15to18") {
replacedBy("org.bouncycastle:bcprov-jdk15on")
}
module("org.bouncycastle:bcprov-jdk18on") {
replacedBy("org.bouncycastle:bcprov-jdk15on")
}
}
// Find the latest version of the SDK:
// https://search.maven.org/search?q=g:network.particle
val sdkVersion = "x.x.x" // Replace this with the version you intend to install
implementation("network.particle:connect:$sdkVersion")
implementation("network.particle:connect-auth-core-adapter:$sdkVersion")
implementation("network.particle:wallet-service:$sdkVersion")
}
```
Finally, before initializing and utilizing Particle Auth directly, you'll additionally need configure your `AndroidManifest.xml` file, ensuring your project keys are placed accordingly (handled through the previously established environment variables through `build.gradle`).
Below is an example of what your `AndroidManifest.xml` should resemble.
```xml theme={null}
```
You're now ready to initialize and begin using Particle Auth. Initialization can be done in one line, simply by calling `init` on `ParticleNetwork`. `init` takes the following parameters:
* `application` (`this`), which represents the underlying Android application.
* `env`, either `Env.DEV`, `Env.PRODUCTION`, or `Env.STAGING`; this alters the information logged when using Particle Auth.
* `chain`, a `ChainInfo` object representing the primary chain you intend to use (such as `ChainInfo.Ethereum`, `ChainInfo.Polygon`).
The following snippet is an example of this.
```kotlin theme={null}
ParticleNetwork.init(this, Env.DEV, ChainInfo.Ethereum)
```
With Particle Auth initialized, you can now facilitate social logins (creation or entry into a corresponding MPC-secured account) through `AuthCore.connect`. Simply, this method requires:
* `socialType`, the specific social login you're facilitating (this should be a `SocialLoginType` object, such as `SocialLoginType.GOOGLE`).
* Additionally, you'll need a callback function to handle a successful or failed login.
Upon calling, the user will undergo authentication through the service specified through `SocialLoginType`; upon returning from this process, their account will be loaded and your application can handle next steps accordingly (through the callback function).
```kotlin theme={null}
AuthCore.connect(SocialLoginType.GOOGLE, connectCallback =
object : AuthCoreServiceCallback {
override fun success(output: UserInfo) {
// Handle a successful login
}
override fun failure(errMsg: ErrorInfo) {
// Handle a failed login
}
})
```
## Examples of Utilization
### Retrieve Account Information
With a user logged in, you can retrieve information about their account (such as their address or the details relating to the chosen method; for example, the email attached to their Google account).
To retrieve an object containing a large amount of general information, call `AuthCore.getUserInfo`. This method will return numerous attributes based upon the login method they chose; for a full list of included properties, head over to the [`getUserInfo` API reference](/social-logins/api/server/getuserinfo).
`AuthCore.getUserInfo` will include a `wallets` object with their address present; although an address can also be retrieved through `AuthCore.evm.getAddress`, or if Solana is being used, `AuthCore.solana.getAddress`.
```kotlin theme={null}
val userInfo = AuthCore.getUserInfo()
val googleEmail = userInfo?.googleEmail // if user login with google account, you can get googleEmail
val publicAddress =
if (ParticleNetwork.chainInfo.isEvmChain()) {
AuthCore.evm.getAddress()
} else {
AuthCore.solana.getAddress()
}
})
AuthCore.switchChain(ChainInfo.Solana, callback =
object : ResultCallback{
override fun success() {
val userInfo = AuthCore.getUserInfo()
}
override fun failure() {
}
})
// If you add ParticleAA (Account Abstraction) and enable AA, you can retrieve the address like this:
val smartAccountInfo = ParticleNetwork.getAAService().getSmartAccount(publicAddress)
```
### Sending a Transaction
Additionally, sending a transaction is relatively straightforward; `ParticleNetwork` has a built-in transaction construction method, `createTransaction`, which simply takes a `from`, `to`, and `value` field (optionally, `data` can be used for contract interaction) and returns a transaction object to be used with `AuthCore.evm.sendTransaction`.
Below is an example of this flow.
```kotlin theme={null}
val publicAddress = AuthCore.evm.getAddress()
val uiAmount = "0.0001"
val value = "0x"+uiAmount.toBigDecimal().multiply(BigDecimal(1e18)).toBigInteger().toString(16)
val trans =ParticleNetwork.evm.createTransaction(from ,to,value)!!.serialize()
AuthCore.evm.sendTransaction(trans, callback =
object : AuthCoreSignCallback {
override fun success(output: SignOutput) {
val signature = output.signature
}
override fun failure(errMsg: ErrorInfo) {
}
})
```